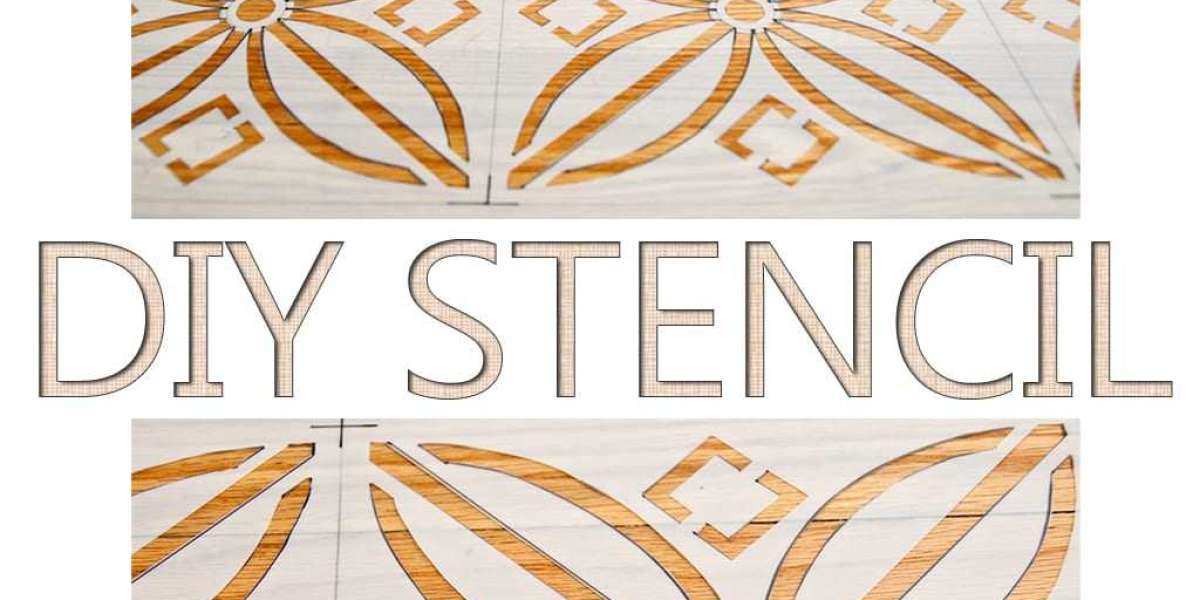
Creating your own stencil is a fun and rewarding craft project that allows for a high degree of customization and creativity. Whether you’re looking to personalize home décor, enhance your artwork, or add a unique touch to a DIY project, making your own stencil can be an easy and cost-effective way to achieve your desired look. Here’s a comprehensive guide to help you get started on your stencil-making journey.
Materials You’ll Need
To create your own stencil, you’ll need a few basic materials:
Stencil Material: Mylar sheets are a popular choice because they are durable, reusable, and easy to cut. However, you can also use acetate, cardstock, or even old plastic folders.
Cutting Tools: A sharp craft knife or a stencil cutting tool is essential for precise cuts. A cutting mat will protect your surfaces and provide a safe cutting area.
Adhesive Spray (optional): This helps to keep the stencil in place while you work.
Stencil Design: You can draw your own design or print one from a computer. For beginners, simple and bold designs work best.
Step-by-Step Process
Choose and Prepare Your Design: Start by selecting or creating a design. If you’re printing a design, ensure it’s the right size for your project. Use a high-contrast image to make the cutting process easier.
Transfer the Design to Your Stencil Material: Place the stencil material over the printed design. You can tape them together to prevent shifting. If you’re drawing your own design, use a permanent marker to trace directly onto the stencil material.
Cut Out the Stencil: Using your craft knife or stencil cutting tool, carefully cut along the lines of your design. Take your time to ensure clean, precise cuts. For intricate designs, work slowly and steadily to avoid mistakes.
Clean Up Edges: Once you’ve cut out the entire design, inspect the edges of your stencil. Use your knife to trim any rough or uneven edges for a smoother finish.
Test Your Stencil: Before using your stencil on your final project, test it on a scrap piece of paper or fabric. This allows you to see if there are any areas that need further trimming or adjustments.
Tips for Successful Stenciling
Use Adequate Lighting: Good lighting will help you see your cutting lines more clearly, ensuring precision.
Work Slowly and Steadily: Rushing can lead to mistakes and uneven cuts. Take your time, especially with intricate designs.
Secure Your Stencil: Use adhesive spray or tape to secure your stencil in place while applying paint to avoid smudging or shifting.
Choose the Right Paint: Depending on your project, choose the appropriate paint type—fabric paint for textiles, acrylic for canvas, or spray paint for walls and furniture.
Benefits of Making Your Own Stencils
Creating your own stencils offers several advantages:
- Customization: You can create any design you imagine, tailored specifically to your project’s needs.
- Cost-Effective: Making your own stencils can be more affordable than buying pre-made ones, especially for one-time projects.
- Creativity Boost: The process of designing and cutting your stencil can inspire new ideas and enhance your creative skills.
Conclusion
Making your own stencil is a delightful and satisfying endeavor that opens up endless possibilities for personalization and creativity. With the right materials and a bit of patience, you can transform simple designs into stunning stencils that add a unique touch to any project. So, gather your supplies, let your imagination run wild, and start creating your own beautiful stencils today!


