Managing your email on an iPhone can be straightforward, but default settings sometimes don’t align with user preferences. One common frustration is the default action of archiving emails instead of deleting them. If you're using Roadrunner RR email instead of archiving it on iOS 11, you might have encountered this issue. This guide will show you how to change your settings so you can delete emails instead of archiving them, along with tips for managing your inbox more effectively.
Understanding the Default Archive Setting
Apple's Mail app on iOS 11, by default, is set to archive emails instead of deleting them. This setting can be confusing and inconvenient if you prefer to delete unwanted emails to keep your inbox clean. Archiving removes the email from your inbox but keeps it in your account, accessible later if needed. While this can be useful, it’s not always the preferred action.
Changing the Archive Setting to Delete
To change the default behavior from archiving to deleting emails, follow these steps:
Step 1: Open Settings
Unlock your iPhone and open the "Settings" app, represented by a gear icon.
Step 2: Go to Accounts Passwords
Scroll down and tap on "Accounts Passwords." This section manages all the email accounts added to your device.
Step 3: Select Your RR Email Account
Under "Accounts," find and tap on your Roadrunner (RR) email account. It might be listed under the email provider you used to set it up (e.g., Spectrum).
Step 4: Access Account Settings
Tap on your email address to open the account settings, and then tap on "Advanced."
Step 5: Change Move Discarded Messages
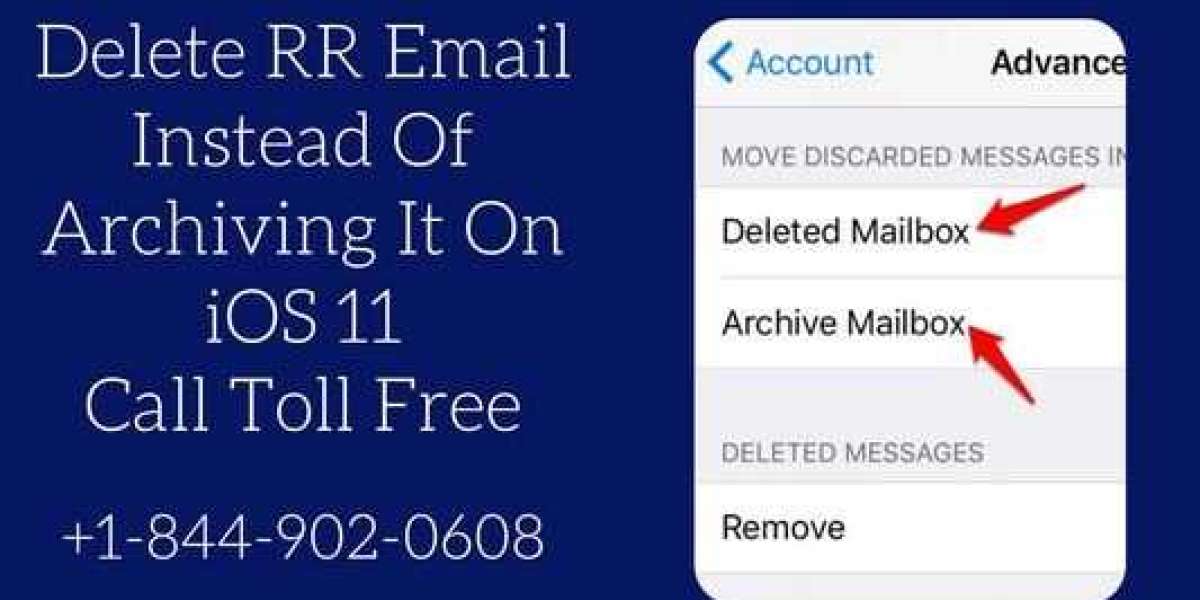
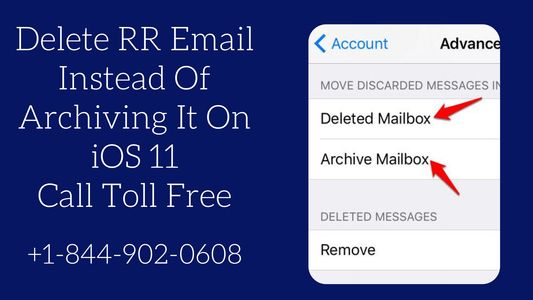
In the "Advanced" settings, you will see an option labeled "Move Discarded Messages Into." Tap on this option.
Step 6: Select Deleted Mailbox
Change the setting from "Archive Mailbox" to "Deleted Mailbox." This will ensure that when you swipe to delete an email, it goes to the trash instead of being archived.
Step 7: Save Changes
Tap "Account" in the upper left corner to go back, then tap "Done" in the upper right corner to save your changes. Your settings will now be updated, and emails will be deleted instead of archived.
Verifying the Change
To make sure the changes are effective, go back to your Mail app and try deleting an email. Swipe left on an email in your inbox and you should see the "Delete" option instead of "Archive." Tap "Delete" to move the email to the trash.
Managing Your Inbox Effectively
Now that you've set your emails to delete instead of archive, here are some additional tips for managing your inbox on iOS 11:
1. Regularly Empty the Trash
Emails moved to the trash still occupy space in your account. Make it a habit to empty your trash regularly to free up space. Go to the "Trash" folder, tap "Edit" in the upper right corner, and then "Delete All" in the lower left corner.
2. Use Filters and Folders
Organize your emails by creating filters and folders. This can help you manage incoming emails and keep your inbox clutter-free. To create a new folder, go to your inbox, tap "Edit," then "New Mailbox."
3. Enable Swipe Options
Customize your swipe options for easier email management. Go to "Settings" "Mail" "Swipe Options." You can set actions like "Mark as Read," "Move Message," or "Flag" for left and right swipes.
4. Utilize VIP Contacts
For important contacts, set them as VIPs to receive notifications and easily access their emails. Go to "Mail" "VIP" "Add VIP" and select contacts from your list.
5. Schedule Regular Cleanups
Set a schedule for regular email cleanups. Dedicate time each week to go through your emails, delete unnecessary ones, and organize the rest. This prevents your inbox from becoming overwhelming.
Troubleshooting Common Issues
If you encounter any issues while changing your settings or managing your inbox, consider these troubleshooting steps:
Issue: Settings Not Saving
If your changes don’t seem to save, restart your iPhone and try again. Sometimes a simple restart can resolve saving issues.
Issue: Emails Still Archiving
Double-check that you have selected "Deleted Mailbox" in the "Advanced" settings. If it’s still not working, remove the email account from your iPhone and add it back.
Issue: Emails Not Deleting
If emails aren’t deleting, check your internet connection. A weak or disconnected network can prevent actions from being completed.
Additional Tips for Roadrunner Email Users
To further enhance your email experience with Roadrunner on iOS 11, consider these additional tips:
1. Keep Your Software Updated
Ensure your iPhone and Mail app are updated to the latest versions. Updates often include bug fixes and improvements.
2. Secure Your Email Account
Use a strong, unique password for your email account and change it regularly. Enable two-factor authentication if available for added security.
3. Backup Important Emails
For important emails, consider backing them up to another location, such as a cloud storage service. This ensures you have access to them even if there’s an issue with your email account.
4. Use Email Filters
Set up filters in your email account to automatically sort incoming emails into specific folders. This can help keep your inbox organized and prioritize important messages.
5. Explore Third-Party Email Apps
If you find the default Mail app lacking, explore third-party email apps like Outlook, Spark, or Airmail. These apps often offer more features and customization options.
Conclusion
Managing your Roadrunner email on iOS 11 doesn’t have to be frustrating. By changing your settings to delete emails instead of archiving them, you can keep your inbox organized and clutter-free. Follow the step-by-step guide provided, utilize the tips for effective email management, and troubleshoot common issues to enhance your email experience. If you encounter persistent problems, consider contacting Spectrum support for further assistance. Enjoy a streamlined and efficient email experience on your iPhone.