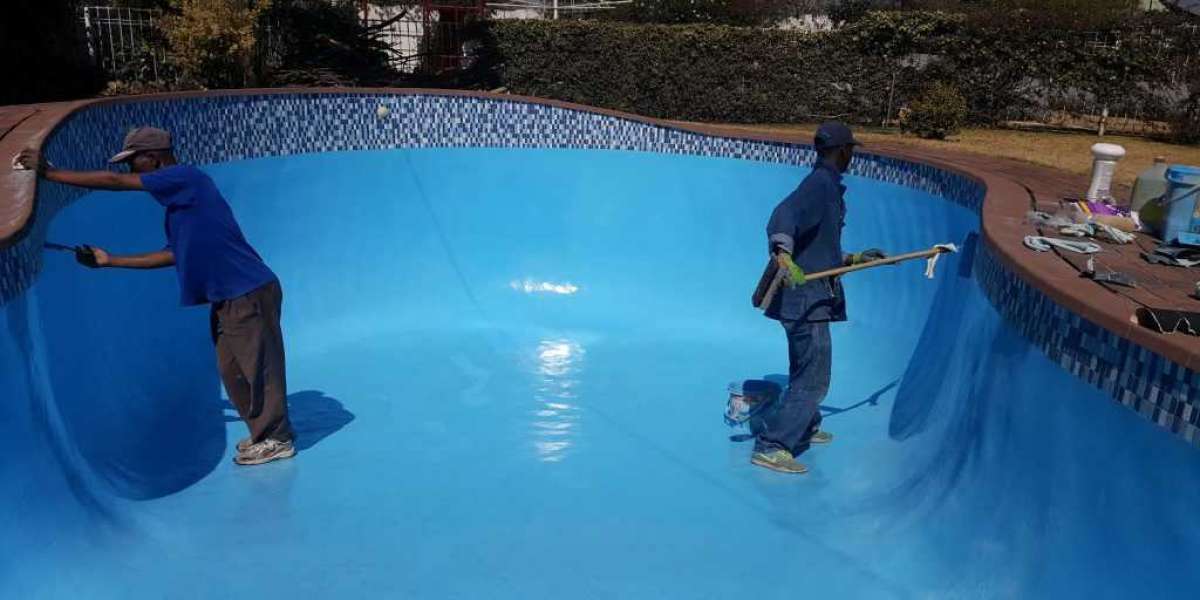
Maintaining a pristine swimming pool involves more than just regular cleaning and water treatment; it also requires attention to the condition of the pool tiles. Over time, pool tiles can suffer from various forms of damage, including cracks, chips, discoloration, and loose tiles. Pool tile repair is an essential aspect of pool maintenance that not only restores the visual appeal of your pool but also ensures its structural integrity. This comprehensive guide will explore the causes of pool tile damage, provide detailed repair techniques, and offer maintenance tips to keep your pool looking its best.
Understanding Pool Tile Damage
Pool tile repair Before diving into repair methods, it’s crucial to understand the different types of damage that can occur to pool tiles. Pool tiles are typically exposed to harsh conditions such as chlorine, fluctuating water levels, and physical impact, which can lead to several common issues:
- Cracks: Cracks can develop due to the expansion and contraction of the pool shell, thermal stress, or impact. Cracked tiles not only affect the aesthetic of the pool but can also lead to water leakage.
- Chips: Chips are usually caused by impacts from pool equipment, rough objects, or improper cleaning techniques. They can compromise the tile’s ability to protect the underlying surface.
- Loose Tiles: Loose tiles often result from improper installation, adhesive failure, or water infiltration behind the tiles. They can pose a safety hazard and lead to further damage if not addressed promptly.
- Discoloration: Discoloration can be caused by a buildup of minerals, algae, or staining from chemicals. It affects the visual appeal of the pool and may indicate underlying issues with water chemistry.
Tools and Materials Needed
Before starting any repair work, ensure you have the necessary tools and materials:
- Tile Adhesive: Use a high-quality adhesive suitable for underwater application.
- Grout: Choose grout that matches the color of your existing grout.
- Tile Cutter: For cutting tiles to fit.
- Notched Trowel: For applying adhesive.
- Grout Sponge: For cleaning excess grout.
- Tile Sealer: To protect the repaired area.
- Replacement Tiles: Match the existing tiles in size, color, and texture.
- Caulking Gun: For applying adhesive and grout.
Repair Techniques
1. Crack Repair
Assessment and Preparation:
- Inspect the crack to determine its extent. If it’s just a surface crack, it can be filled with epoxy or specialized tile crack repair products.
- Clean the area around the crack thoroughly to remove any debris or loose material.
Repair Process:
- Fill the Crack: Apply a tile crack repair filler or epoxy into the crack using a putty knife. Smooth it out to ensure it fills the entire crack.
- Allow to Cure: Let the filler cure as per the manufacturer’s instructions. This usually takes 24 hours.
- Regrout if Necessary: Once the filler is dry, reapply grout if the crack extends through the grout lines. Use a grout float to apply the grout and a damp sponge to clean any excess.
2. Chip Repair
Assessment and Preparation:
- Evaluate the size of the chip to determine if you need to replace the entire tile or just repair the chipped area.
- Clean the chipped area to remove any loose debris.
Repair Process:
- Apply Tile Adhesive: If you’re replacing the entire tile, apply a layer of tile adhesive to the back of the new tile.
- Set the Tile: Place the new tile into the prepared area and press it firmly. Ensure it aligns with the surrounding tiles.
- Grout and Seal: Once the adhesive has set (usually 24 hours), apply grout around the new tile. Clean off any excess grout and apply a tile sealer to protect the grout and tile.
3. Loose Tile Repair
Assessment and Preparation:
- Check the loose tile to see if it can be re-adhered or if it needs replacing.
- Remove any old adhesive from the tile and pool surface.
Repair Process:
- Apply New Adhesive: Spread tile adhesive on the back of the loose tile and the area where it will be reinstalled.
- Reinstall the Tile: Press the tile firmly into place, ensuring it is level with the surrounding tiles.
- Regrout and Seal: Once the adhesive is fully cured, reapply grout around the tile and clean the area. Seal the grout to prevent future issues.
4. Discoloration Removal
Assessment and Preparation:
- Identify the cause of discoloration, such as mineral buildup or algae.
- Clean the affected tiles with a non-abrasive cleaner to remove surface stains.
Removal Process:
- Use a Tile Cleaner: For mineral deposits, use a tile cleaner specifically designed to remove such stains.
- Scrub the Area: Gently scrub the discolored area with a brush to remove any buildup.
- Rinse and Dry: Rinse the area thoroughly with clean water and dry it completely. If the discoloration persists, consider using a tile restoration product or consult a professional.
Maintenance Tips
Regular maintenance can prevent many common pool tile issues and prolong the life of your tiles:
- Routine Cleaning: Regularly clean your pool tiles with a mild, non-abrasive cleaner to prevent buildup and staining.
- Check Water Chemistry: Maintain proper water chemistry to prevent mineral deposits and scaling.
- Inspect Tiles Regularly: Periodically inspect your pool tiles for signs of damage and address any issues promptly.
- Use Pool Covers: When not in use, cover your pool to protect the tiles from debris and excessive exposure to sunlight.
Conclusion
Proper pool tile repair and maintenance are crucial for ensuring your pool remains both functional and attractive. By understanding the types of damage, employing effective repair techniques, and adhering to regular maintenance practices, you can keep your pool tiles in excellent condition for years to come. Whether you choose to tackle repairs yourself or seek professional help, addressing tile issues promptly will help preserve the beauty and safety of your swimming pool.